Effortless Web Deployment with Docker Compose

Introduction:
Welcome to our blog series on Docker Compose! In our previous blogs, we explored the power of YAML and learned how it can be used to define and manage complex setups. Now, we will dive deeper into Docker Compose, a powerful tool that simplifies the management of multi-container Docker applications. With Docker Compose, you can orchestrate the deployment, scaling, and networking of your application components with ease. In this blog, we will focus on image management and demonstrate how to use Docker Compose to deploy image-based applications. Let's get started!
Docker Compose:
Docker Compose is a tool that simplifies the management of multi-container Docker applications.
It allows you to define and run complex setups involving multiple containers, networks, and volumes.
Docker Compose uses a declarative YAML file to specify the services, networks, and volumes required for your application.
With a single command, Docker Compose can create and start all the containers defined in the YAML file.
It provides an easy way to orchestrate the deployment and scaling of your application components.
Volumes:
Volumes in Docker are used to persist data generated by containers.
They allow you to store and share data between containers or between the host machine and containers.
Volumes can be used to preserve important data even if containers are removed or recreated.
With Docker Compose, you can define and manage volumes in your application stack using a YAML file.
Volumes provide a convenient way to handle data storage and retrieval in Dockerized applications.
Networks:
Networks in Docker enable communication between containers.
When containers are connected to the same network, they can easily interact with each other using their service names.
Docker Compose automatically creates a network for your application when you define services in the YAML file.
Containers within the same network can communicate with each other using the service names as hostnames.
Networks facilitate the seamless integration and cooperation of containerized components in your application.
Docker Compose is a versatile tool for managing multi-container Docker applications, including image-based setups. It simplifies the process of defining and running complex application stacks. Let's explore Docker Compose using examples related to image management.
Example : Orchestrating Image-Based Application Deployment
Consider an application that consists of two main components: an image backend built with TensorFlow and a user interface frontend built with React. You can run both services together using Docker Compose.
To get started, create a docker-compose.yaml file in your project's root directory with the following content:
version: '3'
services:
  frontend:
    image: react-frontend:latest
    ports:
      - 80:80
  backend:
    image: tensorflow-backend:latest
    ports:
      - 8000:8000
In this example, we define two services: frontend and backend. Instead of building the images using a Dockerfile, we specify the pre-built images using the image option. The image option expects the name of the image and its version (e.g., react-frontend:latest, tensorflow-backend:latest). We also map the container ports to the host ports using the ports option.
To deploy the application, navigate to the root directory of your project in the terminal and execute the following command:
docker-compose up -d
This command tells Docker Compose to read the docker-compose.yaml file, pull the required images (if not already available), and launch the containers in detached mode (-d).
Networking with Docker Compose
Docker Compose simplifies networking between containers. By default, Compose creates a network for your application, allowing the containers to communicate with each other using their service names.
Let's extend the previous example to include a database service. Update your docker-compose.yaml file as follows:
version: '3'
services:
  frontend:
    image: react-frontend:latest
    ports:
      - 80:80
    depends_on:
      - backend
  backend:
    image: tensorflow-backend:latest
    ports:
      - 8000:8000
    depends_on:
      - database
  database:
    image: postgres:12
    environment:
      - POSTGRES_USER=myuser
      - POSTGRES_PASSWORD=mypassword
In this example, we added a database service that uses the official Postgres image. We also defined environment variables to set the database username and password.
Note the depends_on option in the frontend and backend services. This ensures that the backend service starts only after the database service is up and running. Similarly, the frontend service depends on the backend service.
Volumes with Docker Compose
Docker Compose allows you to manage volumes, which are used to persist data generated by containers. Volumes can be shared among multiple containers or mounted from the host machine.
Let's modify our previous example to include volume management:
version: '3'
services:
  frontend:
    image: react-frontend:latest
    ports:
      - 80:80
    depends_on:
      - backend
  backend:
    image: tensorflow-backend:latest
    ports:
      - 8000:8000
    volumes:
      - db-data:/var/lib/postgresql/data
  database:
    image: postgres:12
    environment:
      - POSTGRES_USER=myuser
      - POSTGRES_PASSWORD=mypassword
    volumes:
      - db-data:/var/lib/postgresql/data

volumes:
  db-data:
In this example, we defined a named volume, db-data, under the volumes section. Both the backend and database services use this volume to persist the PostgreSQL data.
When you run docker-compose up -d, Docker Compose creates the named volume and manages it for you. The data stored in the volume will be preserved even if the containers are removed or recreated.
Hands-On Demo
Install Docker on your Ubuntu machine by running the following commands:
   sudo apt update
   sudo apt install docker.io
Add your current user to the Docker group
sudo usermod -aG docker $USER
Clone the code from GitHub/GitLab
git clone https://github.com/AshutoshChoudhary2004/react_django_demo_app.git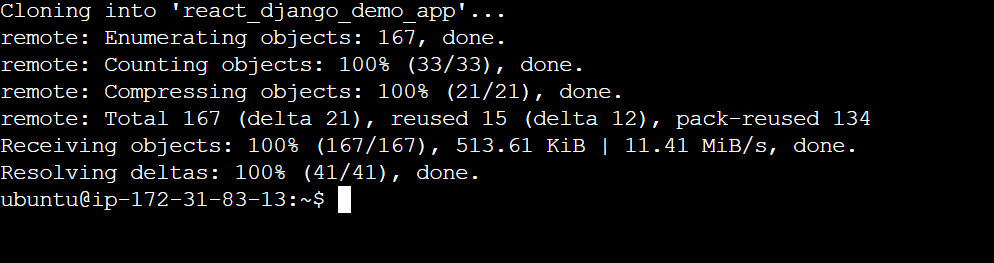
run the cmd docker-compose file
docker-compose -f docker-compose.yaml up -d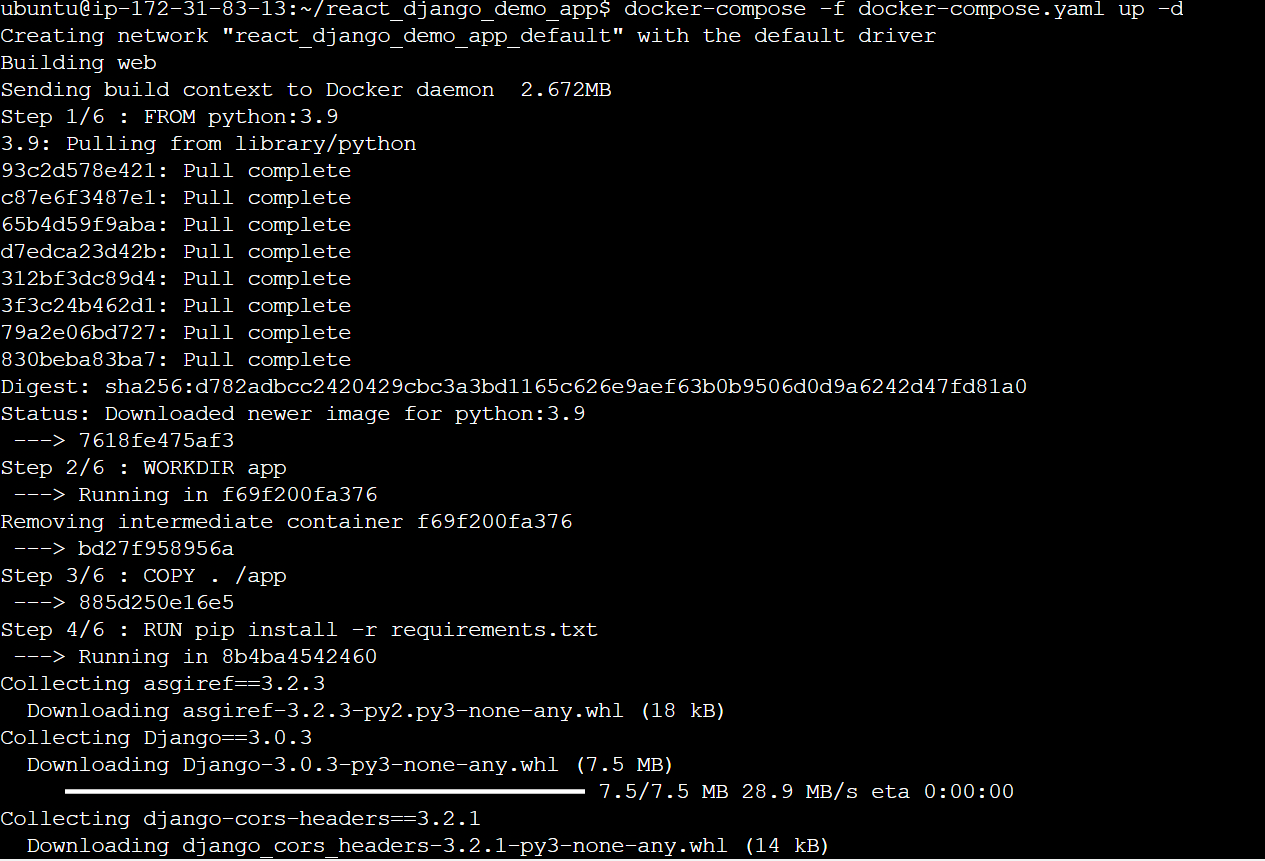

Congratulations! By following the steps and using Docker Compose, you have successfully started your web application. Now you can access your application by opening a web browser and navigating to the appropriate URL or IP address and port (8001)


